
⇧ amazing...
KNIMEとは?
Wikipediaさんに聞いてみた。
KNIME (/naɪm/), the Konstanz Information Miner, is a free and open-source data analytics, reporting and integration platform. KNIME integrates various components for machine learning and data mining through its modular data pipelining "Building Blocks of Analytics" concept. A graphical user interface and use of JDBC allows assembly of nodes blending different data sources, including preprocessing (ETL: Extraction, Transformation, Loading), for modeling, data analysis and visualization without, or with only minimal, programming.
⇧ フリーで利用できるデータ分析のためのプラットフォームとのこと。
KNIME's headquarters are based in Zurich, with additional offices in Konstanz, Berlin, and Austin (USA).
⇧会社名でもあるってことなのかな?
At KNIME, we build software to create and productionize data science using one easy and intuitive environment, enabling every stakeholder in the data science process to focus on what they do best.
⇧ データサイエンスに関わる全てのステークホルダーにとって最良を尽くせる環境を提供してくれるそうな。
KNIMEをインストールする
ダウンロードページにアクセス。
入力項目を入力していき、
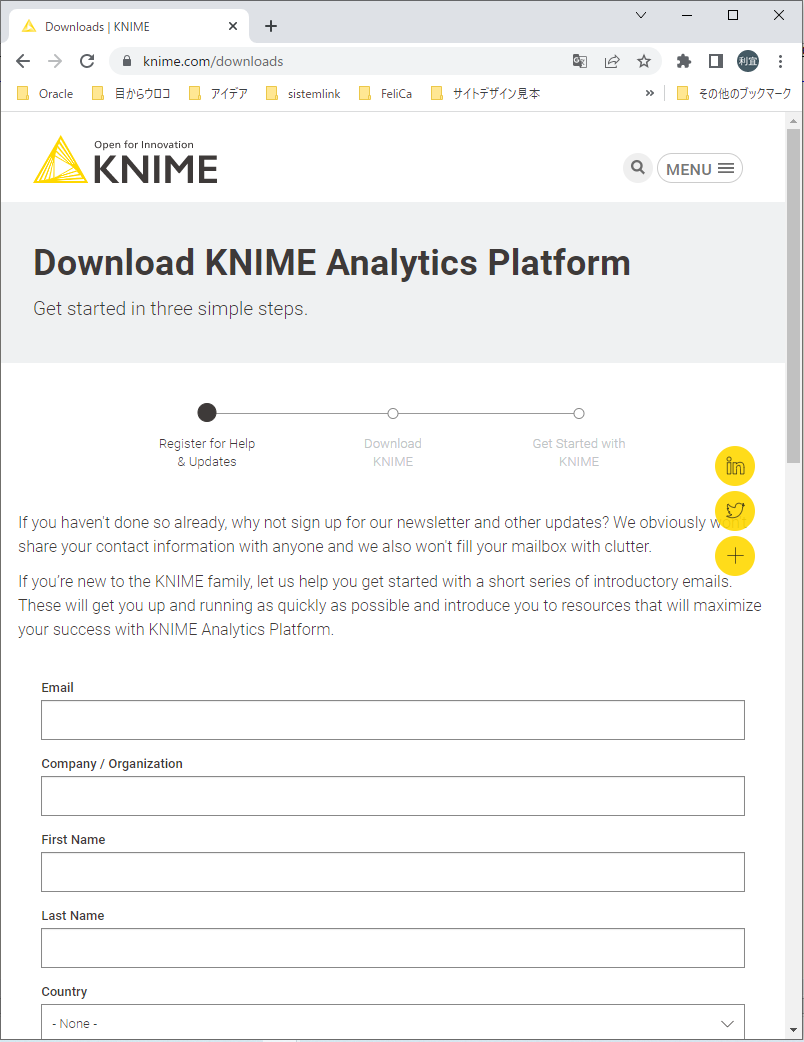
「Download」ボタンをクリック。

自分の環境に合ったものを選択します。自分は、Windows 10 Homeなので、WindowsのInstallerのDownloadリンクをクリックしました。

同意にチェックし、「Download」ボタンをクリック。
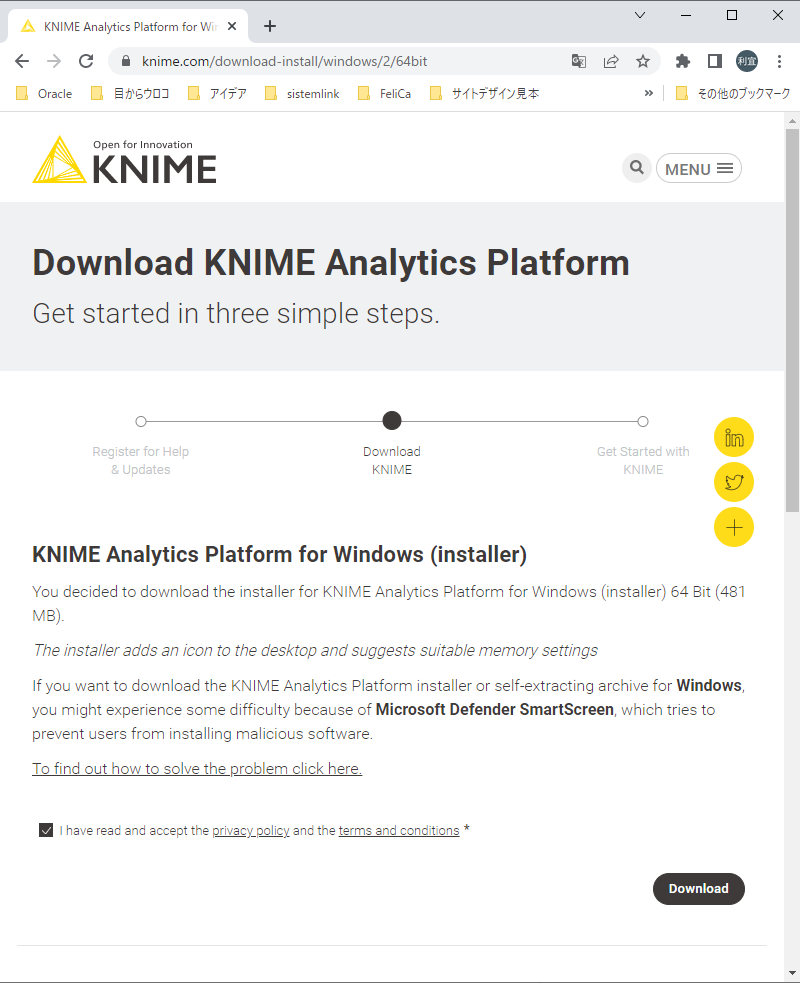
ダウンロードが始まります。

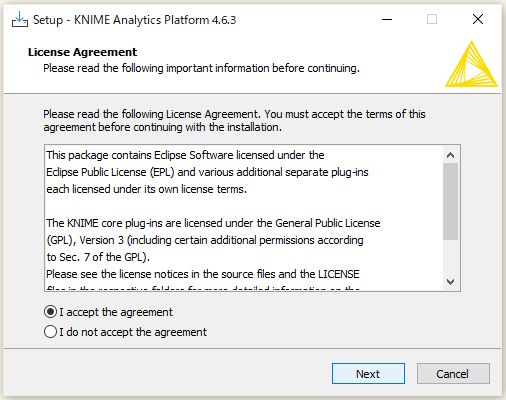
ダウンロードが完了したら、Installerを起動します。

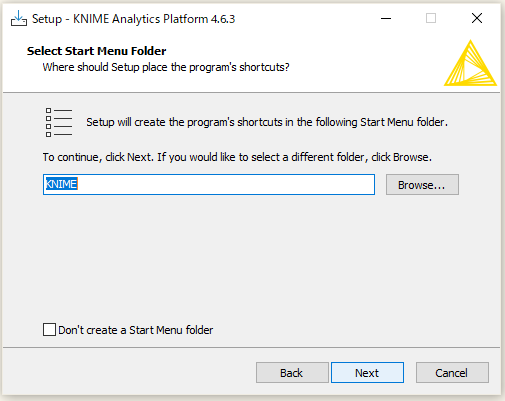
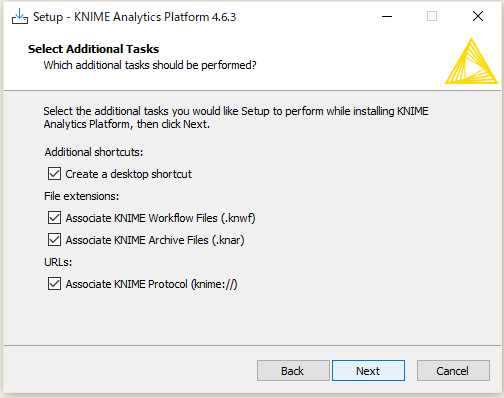
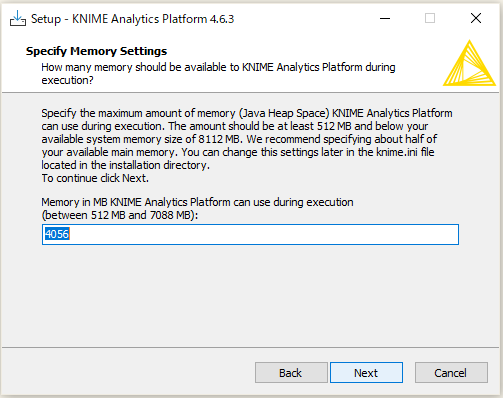


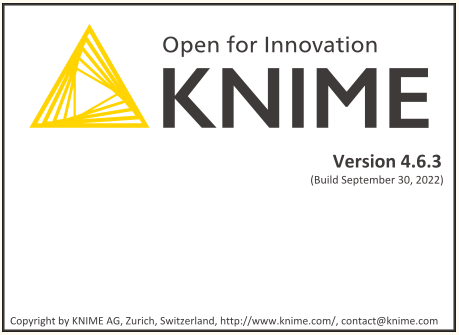
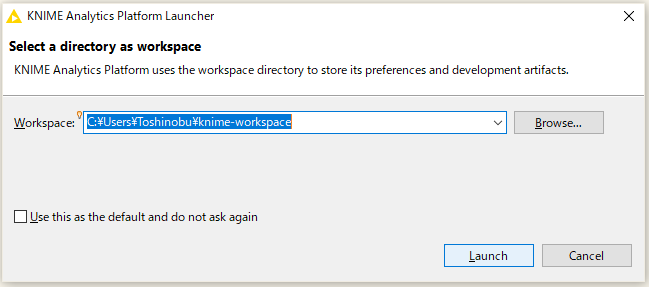
インストールが終わるとKNIMEが起動する。
ワークスペースはデフォルトの状態のまま変えてません。
Eclipseっぽい作り。

Konstanz Information MinerであるKNIMEを使ってみる
早速、使ってみます。
⇧ 上記サイト様を参考にKNIMEの機能を利用していきます。
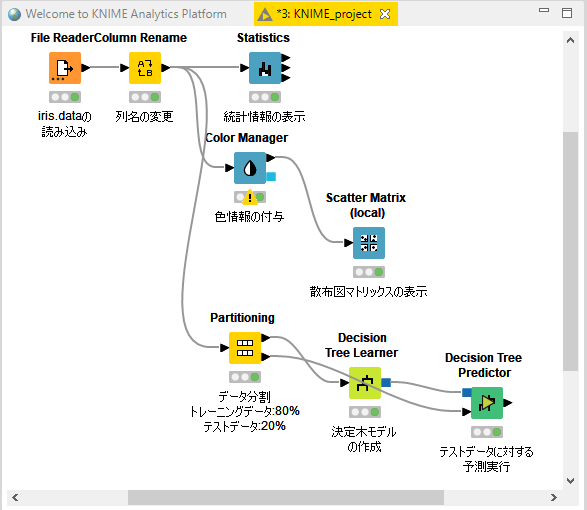
■データ準備
まずは、
⇧ iris.dataをダウンロードしておきます。
■プロジェクト作成
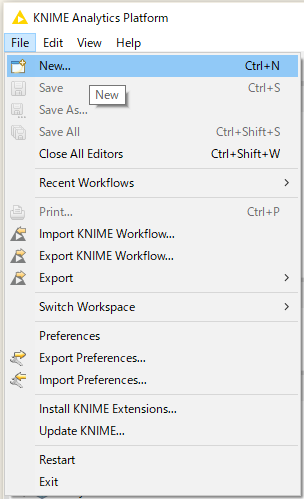
続いて、KNIMEでプロジェクトの作成。「File」>「New...」を選択し、
「New KNIME Workflow」を選択し、「Next>」を押下。

「Finish」を押下。


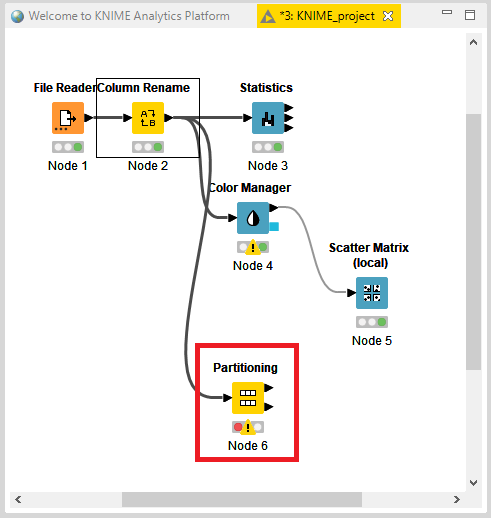
■ワークフローの作成
まずは、データの読み込み。
「Node Repository」から「IO」>「File Reader」をダブルクリック。

配置された「File Reader」のアイコンをダブルクリック。

「Browse...」を押下し、

先ほどダウンロードしたiris.dataを選択し、「OK」を押下。

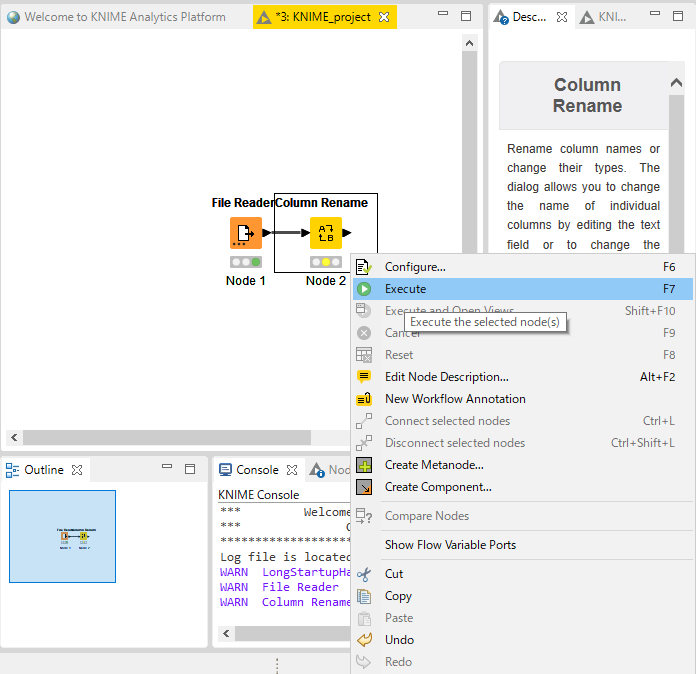
「File Reader」のアイコンを右クリックし、「Execute」を選択。

○が緑色になっていればOK。

■列名の編集
続いて、「Node Repository」から「Column Rename」を探してダブルクリック。

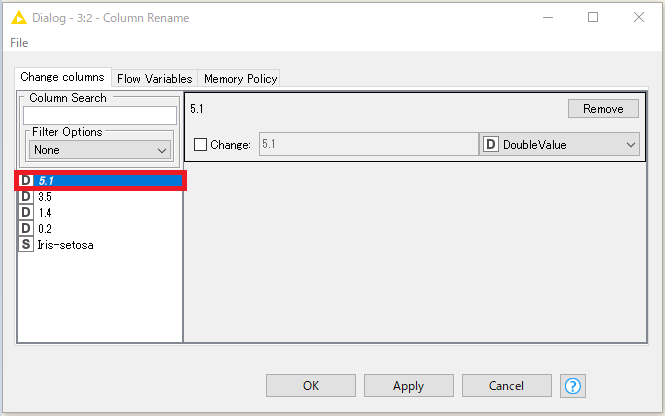
配置された「Column Rename」のアイコンをダブルクリック。

ダブルクリック。
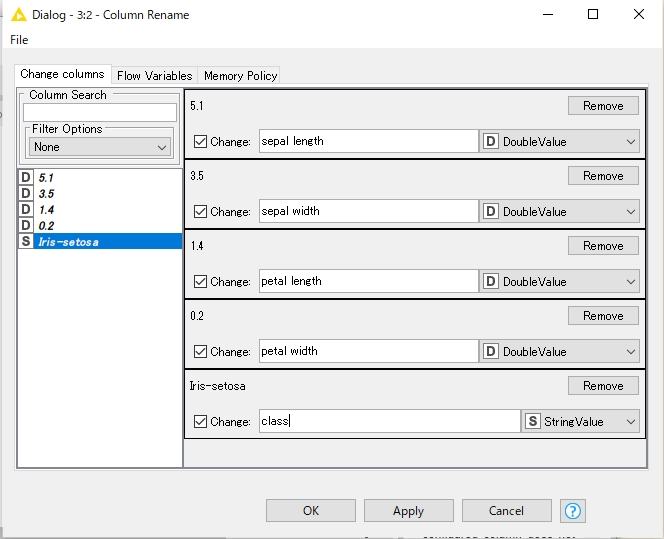
すべて、名前を変えます。「OK」を押下。
「Column Rename」のアイコンを右クリックし、「Execute」を選択。
同様に右クリックし、「Renamed/ReTyped table」を選択。

「カラム名」が変わっていればOK。

■統計情報の表示
続いて、「Node Repository」から「Statistics」を探してダブルクリック。

「Statistics」のアイコンを右クリックし、「Execute」を選択。

同様に、右クリックし「View: Statistics View」を選択。

統計情報が確認できます。

■色情報の付加
続いて、「Node Repository」から「Color Manager」を探して、ドラッグアンドドロップします。


「Column Rename」から「Color Manager」に線を繋げます。

「Color Manager」のアイコンをダブルクリック。

そのまま何もせず閉じてOK。
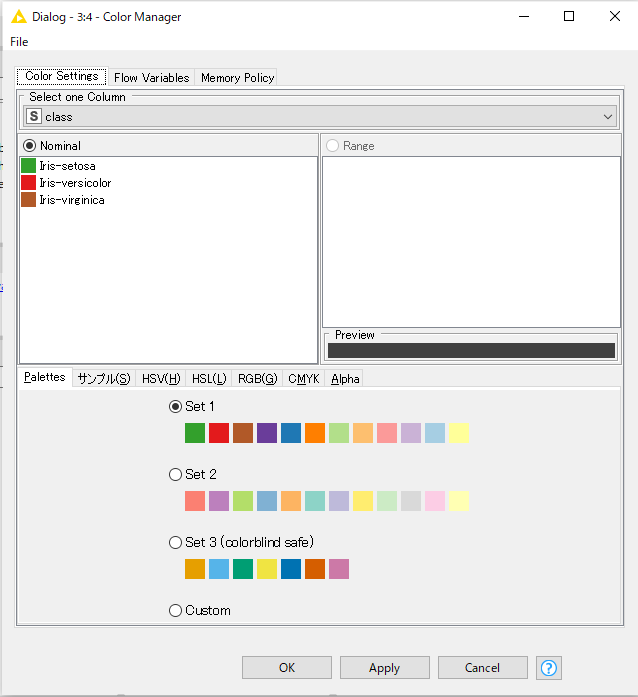
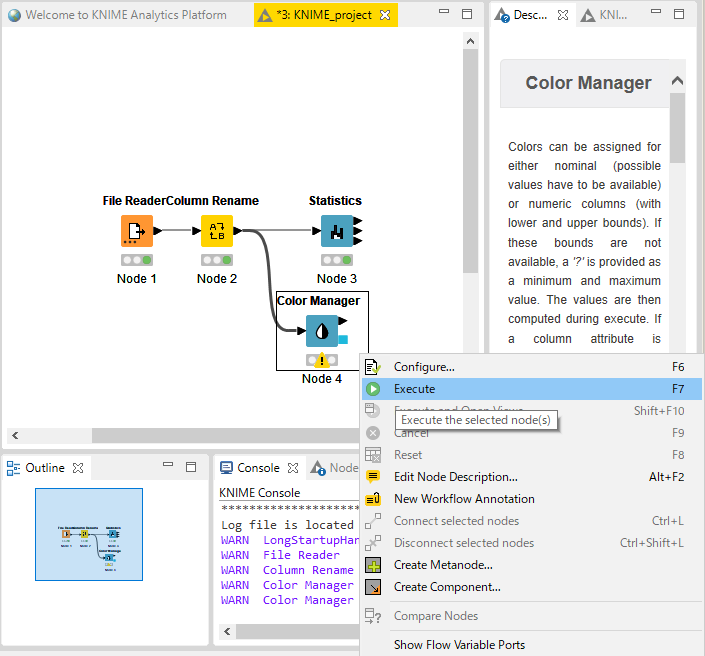
「Color Manager」のアイコンを右クリックし、「Execute」を選択。
同様にして、「Table with Colors」を選択。

色が分かれてればOK。

■散布図マトリックスの作成
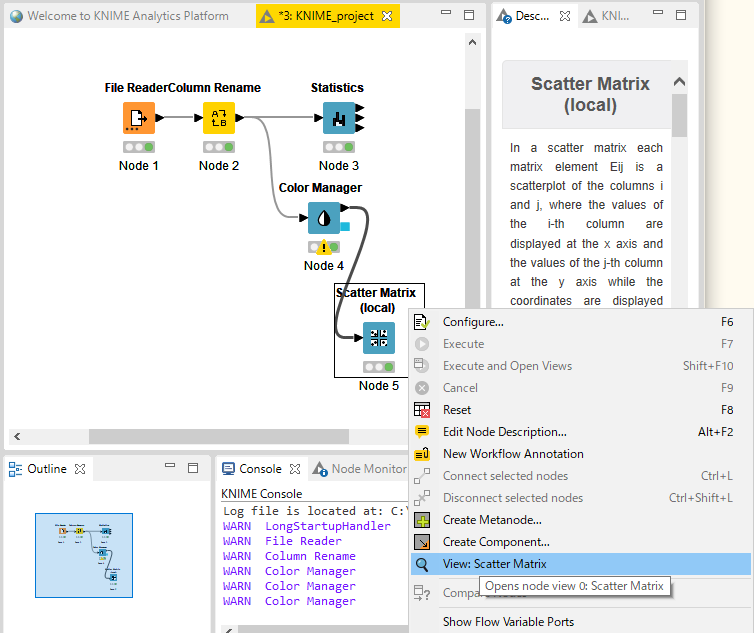
続いて、「Node Repository」から「Scatter Matrix」を探してドラッグアンドドロップ。

「Color Manager」から「Scatter Matrix」に線を繋げる。

「Scatter Matrix」のアイコンを右クリックし、「Execute」を選択。

同様にして、「View: Scatter Matrix」を選択。

■決定木モデルの作成
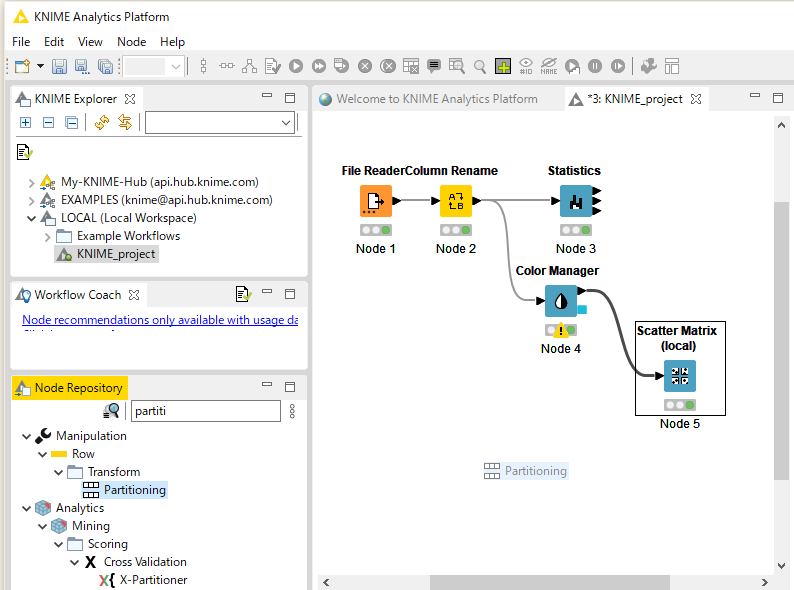
続いて、「Node Repository」から「Partitioning」を探してドラッグアンドドロップ。
「Column Rename」から「Partitioning」に線を繋げる。

「Partitioning」のアイコンをダブルクリック。
「Relative[%]」を、「80」にして「OK」を押下。

「Partitioning」のアイコンを右クリックし、「Execute」を選択。

同様にして、「First Partition」と「Second Patition」でデータが分割されてるか確認する。


続いて、「Node Repository」から「Decision Tree Learner」を探してドラッグアンドドロップ。

「Partitioning」から「Decision Tree Learner」へ線を繋げます。

「Decision Tree Learner」のアイコンをダブルクリック。

「Class clomun」が「class」になっていればOK。

「Decision Tree Learner」のアイコンを右クリックし、「Execute」を選択。
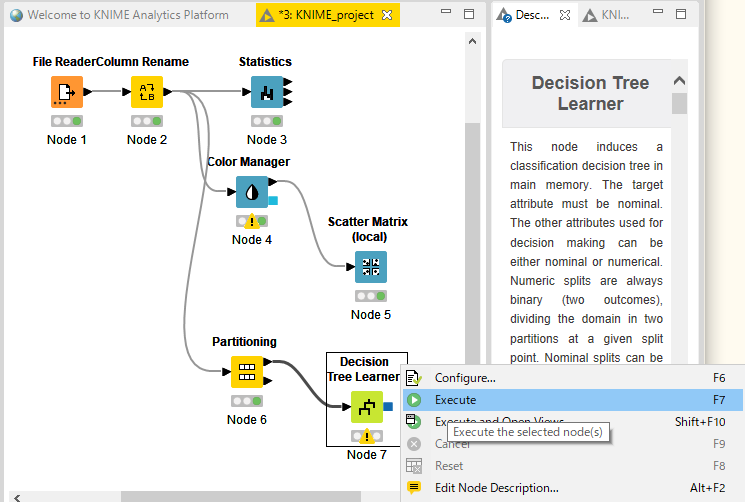
同様にして、「View: Decision Tree View」を選択。


続いて、「Node Repository」から「Decision Tree Predicator」を探してドラッグアンドドロップ。
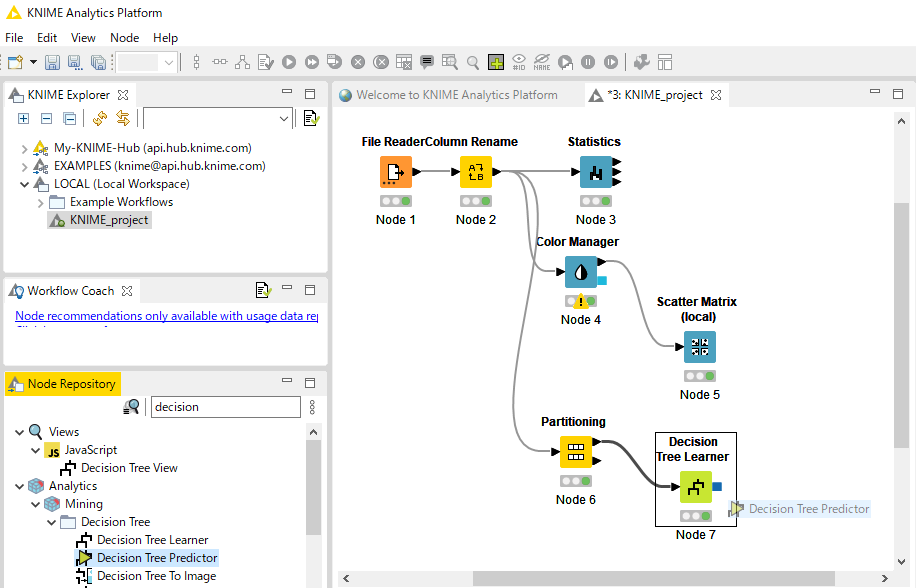
「Decision Tree Learner」から「Decision Tree Predicator」へ線を繋げます。

「Partitioning」から「Decision Tree Predicator」へ線を繋げます。

「Decision Tree Predicator」のアイコンを右クリックし、「Execute」を選択。
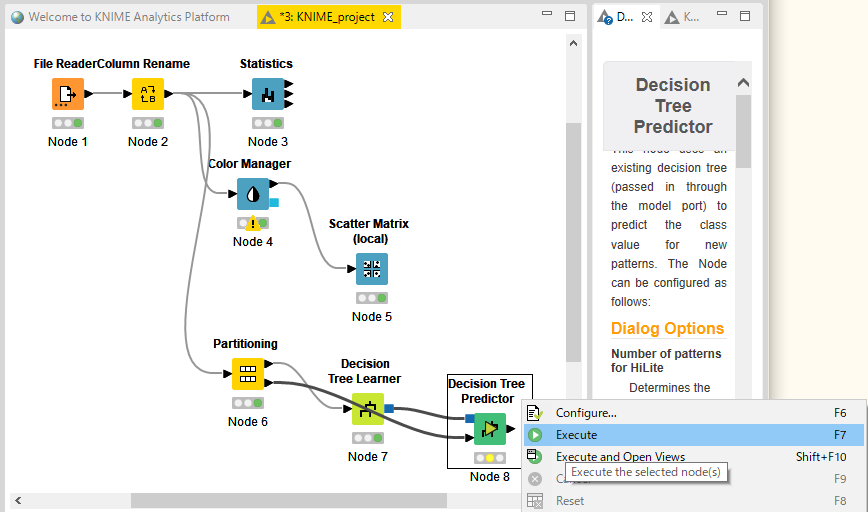
「Classified Data」を選択。


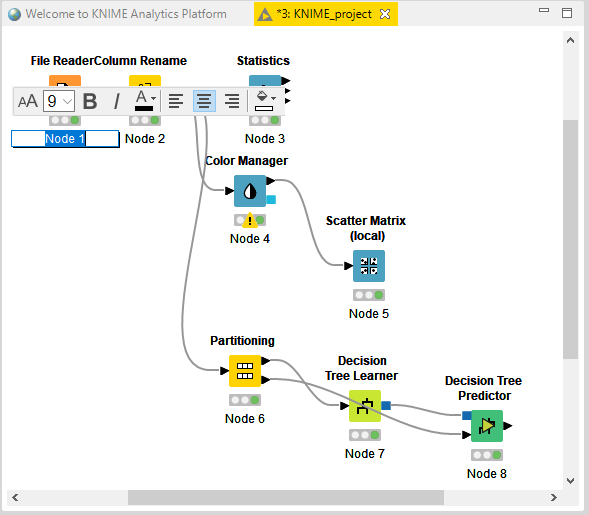
最後に各Nodeを処理名に変更していく。
完了。
KNIMEを使えばコーディングなし、つまり、ノーコードで機械学習とかのモデル生成とかができるんですね。
機械学習の分野において決定木は予測モデルであり、ある事項に対する観察結果から、その事項の目標値に関する結論を導く。内部の節点は変数に対応し、子である節点への枝はその変数の取り得る値を示す。 葉(端点)は、根(root)からの経路によって表される変数値に対して、目的変数の予測値を表す。
データから決定木を作る機械学習の手法のことを決定木学習 (英: decision tree learning)、または略して単に決定木と呼ぶ。
決定木による分類モデルはその分類にいたる過程が容易に解釈できるので、決定木はデータマイニングでよく用いられる。
⇧ 決定木はデータマイニングで使われることが多いらしい。
KNIMEは手順を覚えるのが大変そうではあるけども。
今回はこのへんで。