C言語を一度は経験しとかねばとは思っていたのですが、なかなか踏ん切りが付かずにいましたが、Visual Studio Code で動かせるらしいんだとか。
⇧ 上記サイト様を参考にさせていただきました。
というわけで、C言語の環境構築にレッツ、トライ。
Visual Studio Code をインストールされてない方は、インストールしちゃいましょう。
まずは、C言語のコンパイラー
言わずとしれた、C言語のコンパイラーである、gcc 。この方がいないとC言語のプログラムが動かないって感じっすかね?
で、Windowsの場合は、
- MinGWに同梱されてるgcc.exeを利用
- Visual Studio 2015に同梱されてるcl.exeを利用
の2パターンが導入しやすいようです。おそらく、Visual Studio 2015 以降ならcl.exeは導入されてるのではないかと。
MinGWをインストール
では、Chocolatey を利用してインストールしちゃいましょう。
コマンドプロンプトを管理者権限で起動して、mingwのパッケージを表示。

⇧ mingw 5.3.0 がインストールできるみたいです。
とりあえず、今回は、「C:¥chocolatey-package」というディレクトリにインストールしようと思うので、ディレクトリを作成しておきます。
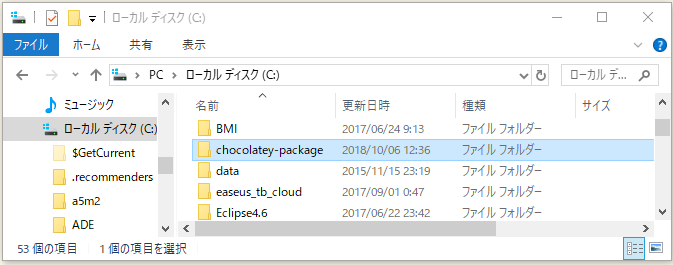
で、インストールを試みるも、何回やってもC:\tools に勝手にインストールされてしまう...何でやね~ん!
Path provided by the Get-BinRoot helper - will be deprecated later (closer to v1) but okay to use for now
The path returned by the helper Get-BinRoot can be used as the parent directory for the installation. Get-BinRoot will return the value of the environment variable %ChocolateyBinRoot%. If the value does not contain a drive reference, the system drive will be prepended. If the environment variable is not set, the default path (C:\ToolsC:\Chocolatey\bin) will be returned.
As an example, MinGW uses %ChocolateyBinRoot%. If the environment variable is not set, it will be set to c:\tools and MinGW will install to C:\Tools\MinGW by default. If %ChocolateyBinRoot% is set to "C:\Common\bin", MinGW installs to C:\Common\bin\MinGW.
%ChocolateyBinRoot% gives the Chocolatey user a way of controlling where packages are installed. If you want to allow customizing the installation path, then this is currently the way to go.
https://chocolatey.org/docs/create-packages#installation-paths
⇧ 何でも、packageによっては、環境変数「ChocolateyBinRoot」が設定されてない場合は、問答無用でpackageのデフォルトのインストール先が指定されてしまうらしい...
で、MinGWもその一つらしい。
⇧ 他にもRubyなんかのpackageもそうらしい。
環境変数を見てみたら、

⇧ 見事に、 「ChocolateyBinRoot」なんてものは存在せず...
作成します。「新規(N)...」で。
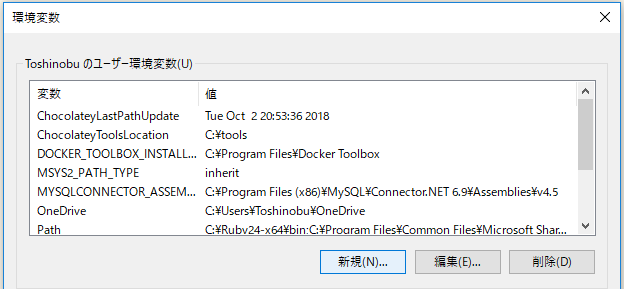
今回は、「C:¥chocolatey-package」っていうディレクトリにpackageがインストールされるようにします。「OK」で。

「OK」で。
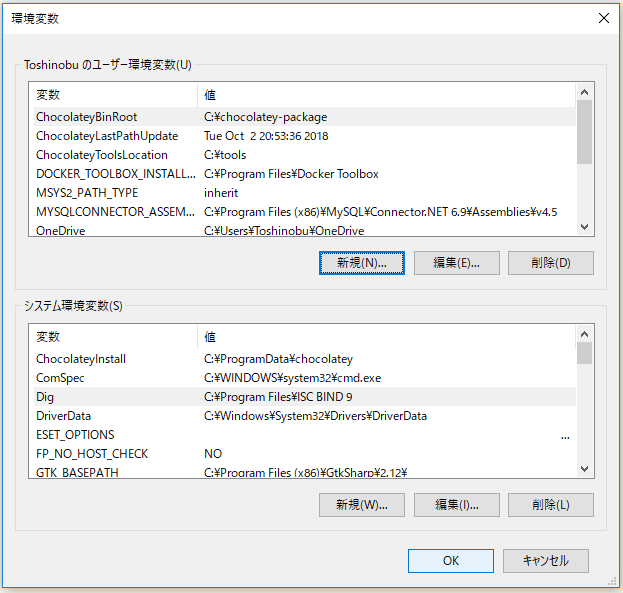
それでは、コマンドプロンプトを管理者権限で立ち上げ直して、インストール。
choco install mingw --version 5.3.0 -y -o -ia "'/qn /norestart ALLUSERS=1 TARGETDIR=C:\chocolatey-package'"
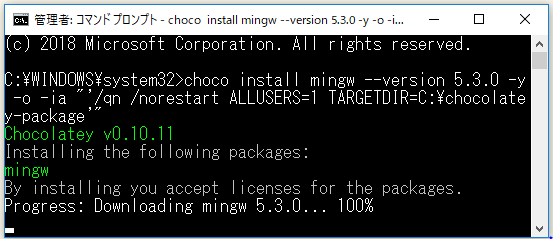
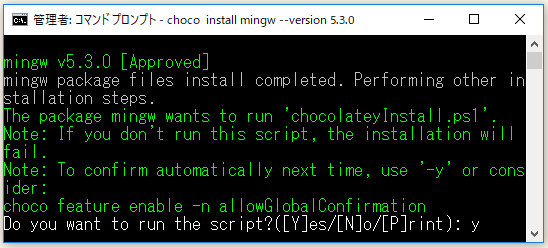
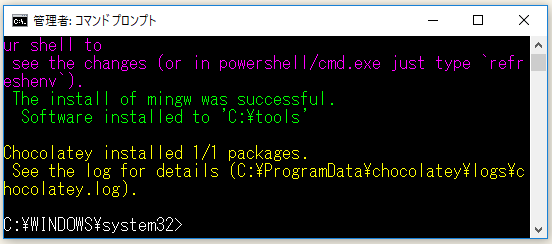
⇧ 相変わらず、packageのインストール場所が変わらんのだが...
You can set environment variable ChocolateyBinRoot to C:\. In newer versions of Chocolatey (v0.9.10+) this is now called ChocolateyToolsLocation.
How to install cygwin using chocolatey to specific directory? - Super User
⇧ 上記サイト様によりますと、Chocolateyのバージョンが0.9.10 以上だと、「ChocolateyToolsLocation」が利用されるらしい...「ChocolateyBinRoot」は過去の遺産になってしまったわけですな。
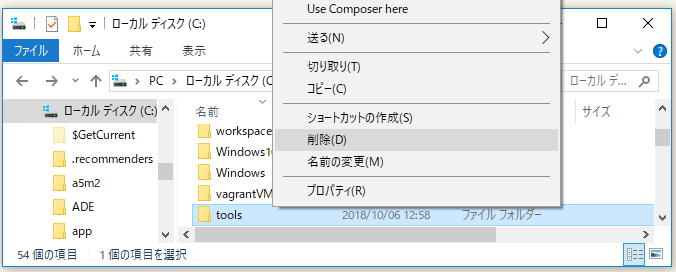
というわけで、インストールされたpackageをアンインストール。「choco uninstall [package名]」コマンドの失敗率が高いので、手動で削除。
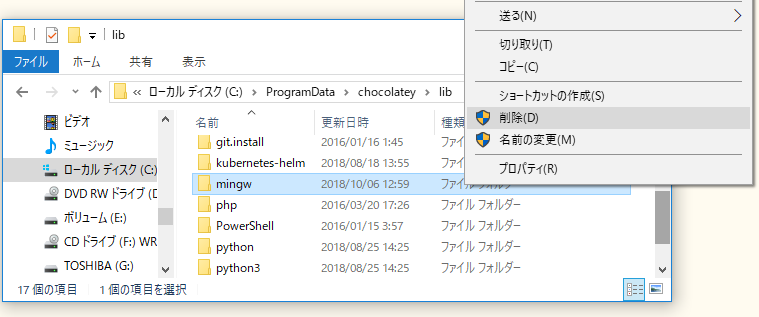
一応、キャッシュっぽいやつも削除しときましょう。
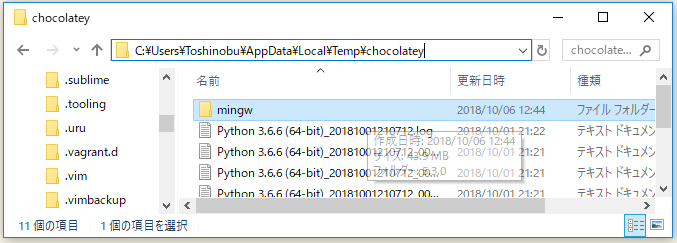
「C:¥Users¥ユーザ名¥AppData¥Local¥Temp¥chocolatey」におるはず。「mingw」ってフォルダを削除。
なんか、コマンドプロンプトの場合は、
- If it was an MSI, then usually you could pass
-ia "INSTALLDIR=""D:\Program Files"""(for cmd.exe, it's different for PowerShell). See how to pass options/switches for specifics on passing quoted values through.
https://chocolatey.org/docs/getting-started#overriding-default-install-directory
⇧ オプションの指定の仕方が違うっぽい?
やってみた。
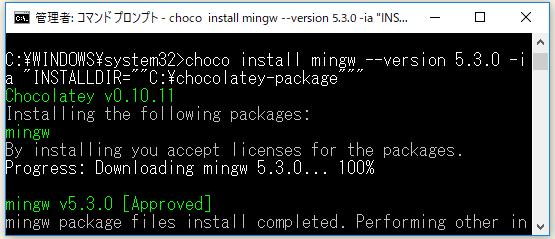
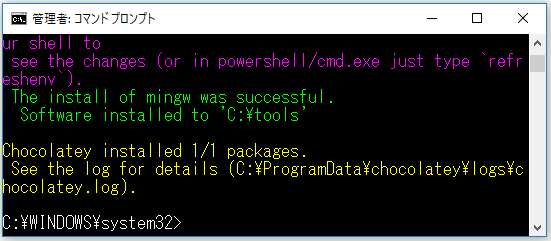
⇧ まったく変わらず...
一時的に環境変数を変更して、試みるも、
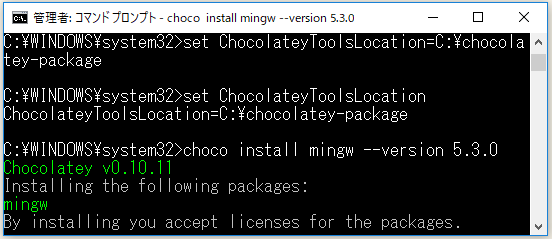
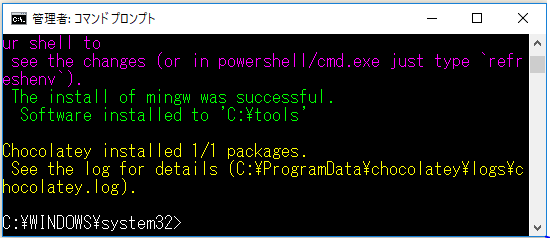
⇧ 頑なに、C:¥tools にインストールしてくるですけど~。
環境変数を直接、変えないといけないっぽい。
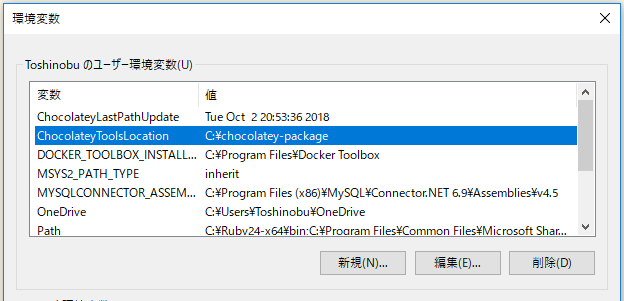
で、実行。
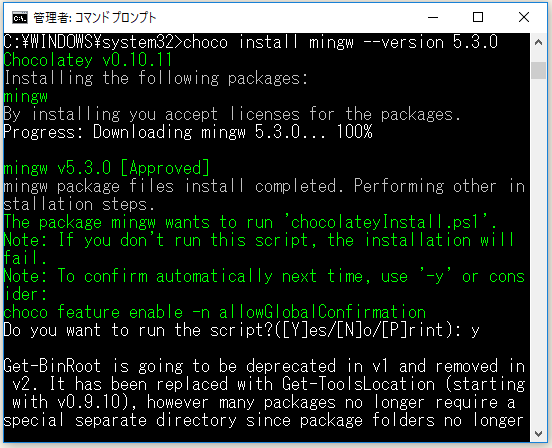
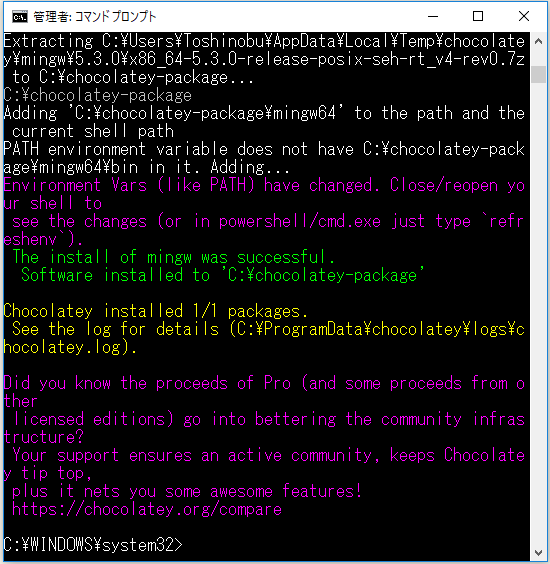
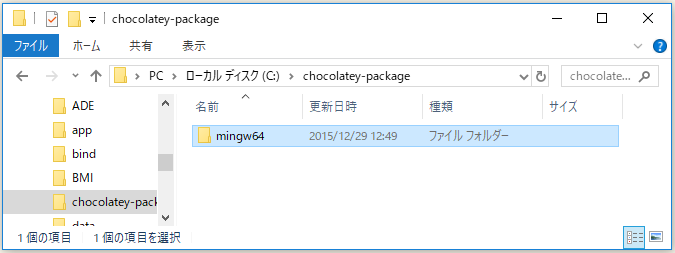
⇧ 一応、インストール先を変えれたけど、mingwのパッケージについては、インストール先のディレクトリをoverrideするのは無理そうですね。
「C:¥MinGW」にインストールできてないのが気になりますが、パスを通しておきます。
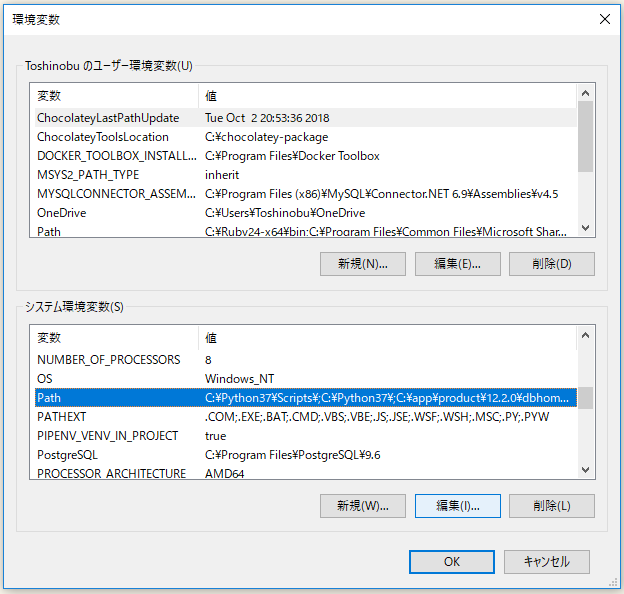
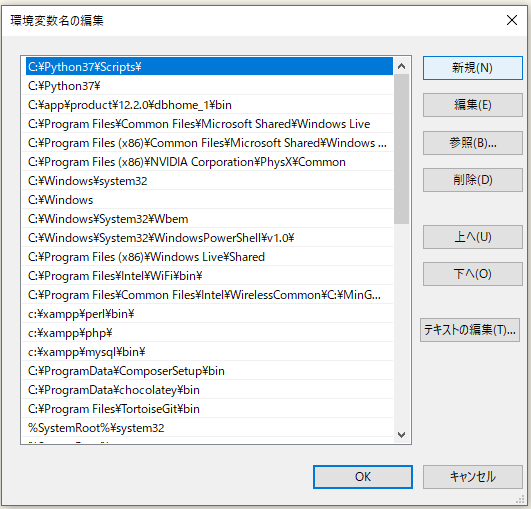
「新規(N)」を選択。
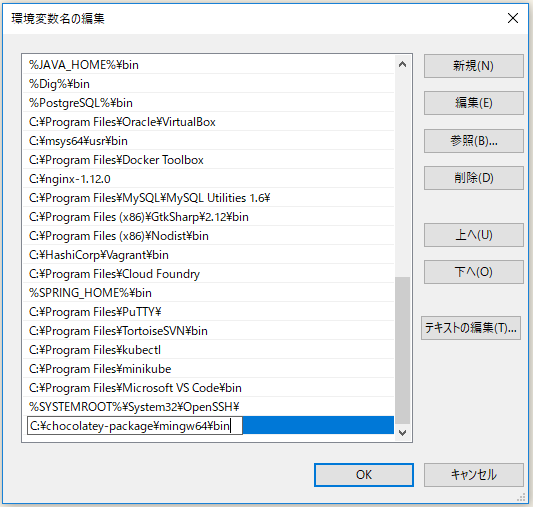
「mingw64¥bin」までのパスを追加。
まぁ、今回の本筋ではないので、MinGWについては、このへんで。
Visual Studio CodeでC言語を使えるよう設定
Visual Studio Code を起動。「拡張機能」のアイコン  をクリック。

検索欄に、「C/C++」と入力して、検索にヒットした「C/C++」をインストール。
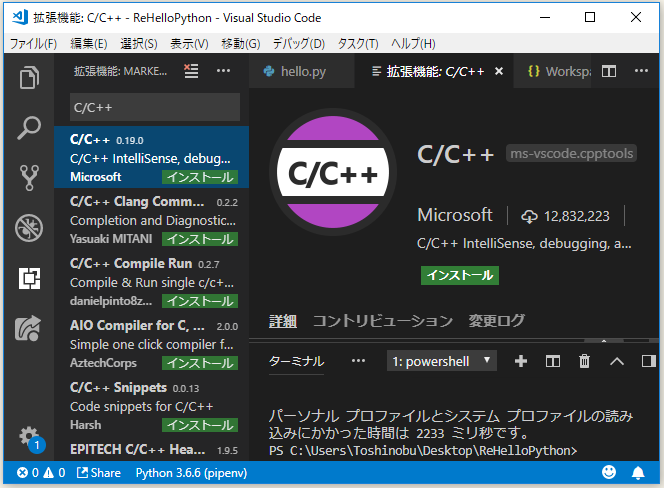
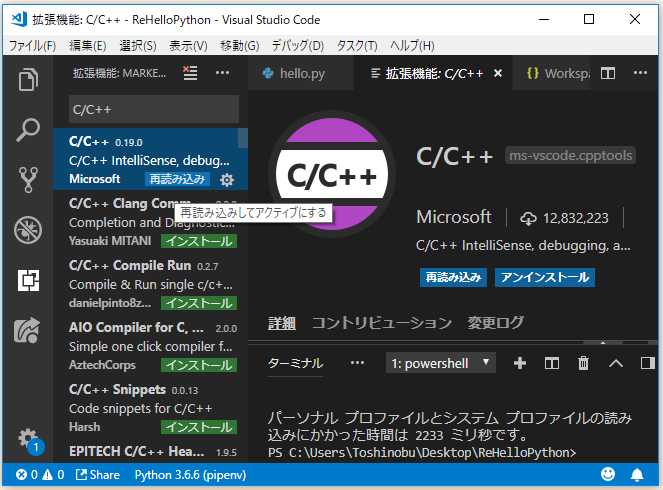
「再読み込み」をクリック。
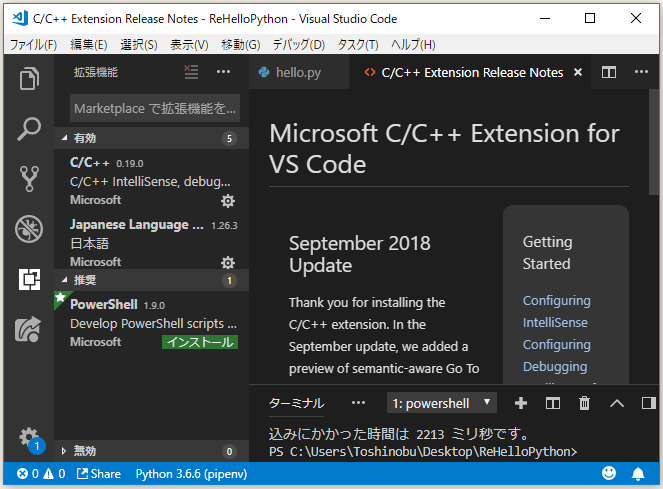
インストールした拡張機能が有効になります。
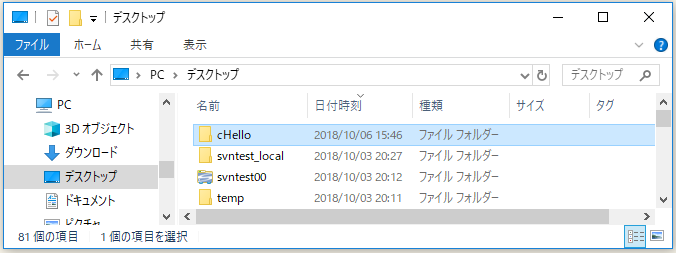
では、適当にプロジェクト用のディレクトリを作成。
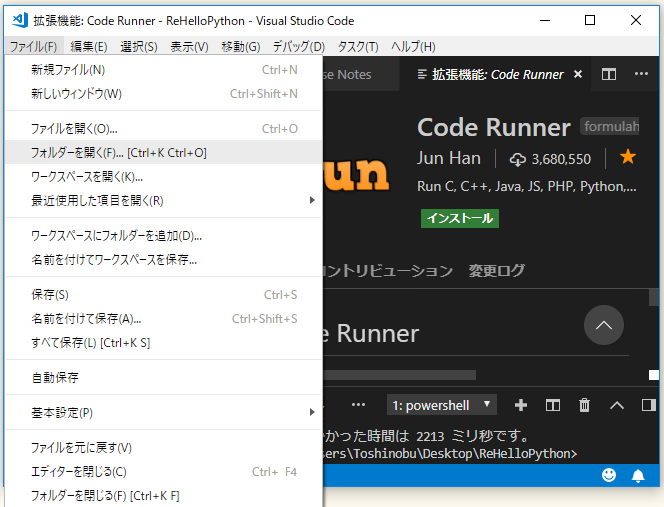
Visual Studio Codeで開きます。「ファイル(F)」>「フォルダを開く(F)...」を選択。
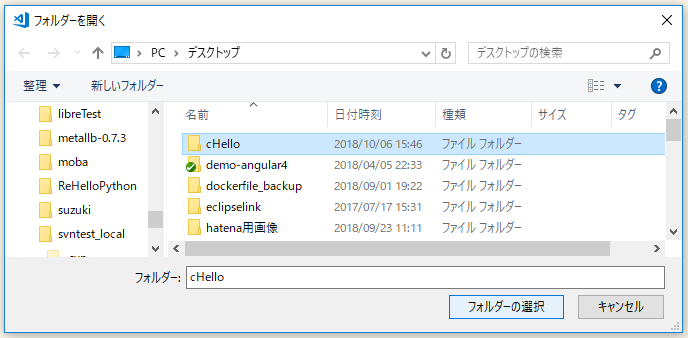
先程作成した「cHello」を選択、「フォルダーの選択」で。
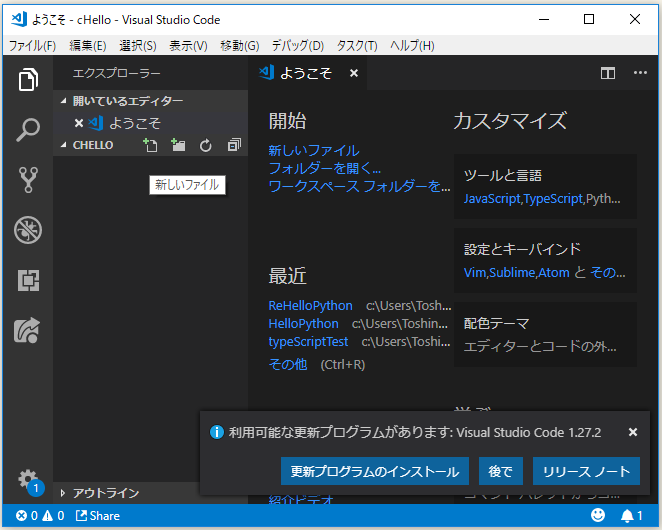
ディレクトリ名にカーソルを持っていって表示される  をクリック。
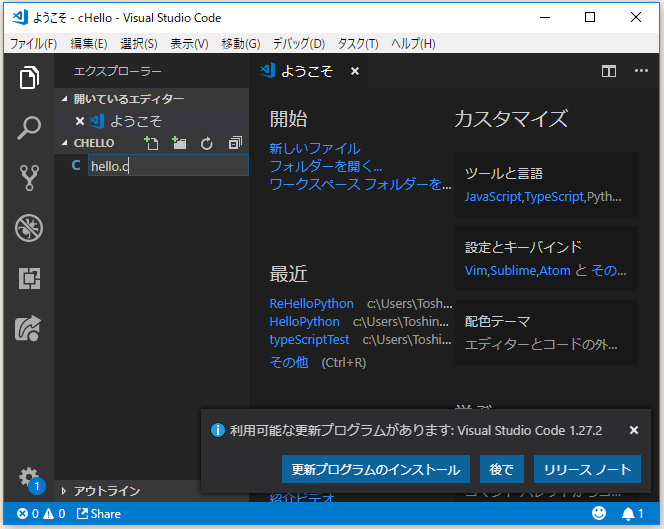
拡張子が「.c」のファイルを作成。
ファイルを編集。
⇧ 上記サイト様を参考にさせていただいてます。
#include <stdio.h>

int main(){

    printf("Hello World!\n");
    puts("Hello World!");
    printf("%s", "Hello World!\n");

    return 0;
}
そしたらば、「表示(V)」>「ターミナル(T)」を選択。
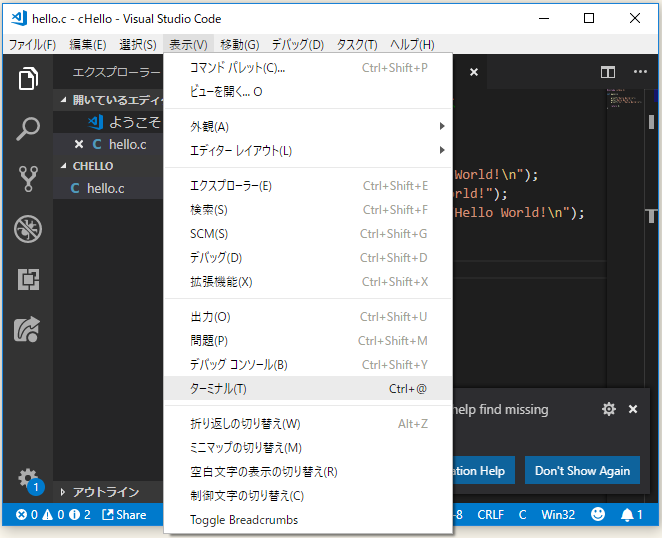
「ターミナル」で、コンパイルを実行し、hello.exeという実行ファイルを作成。
gcc -o hello hello.c

実行ファイルが作成されたので、実行します。「ターミナル」に、
./hello
と入力。
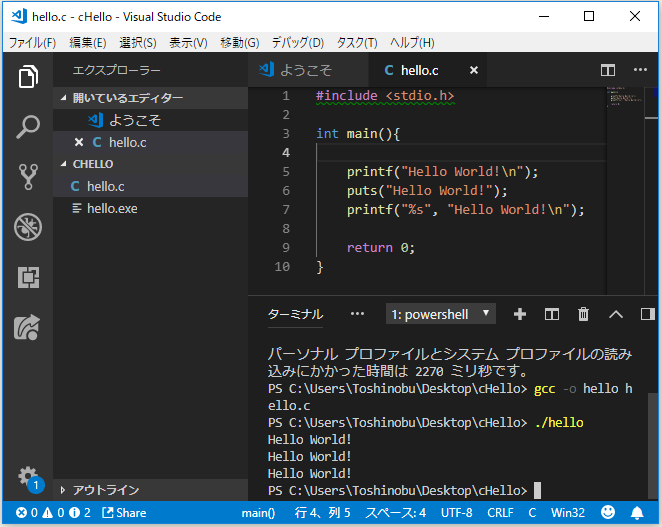
⇧ Hello World! が3行、表示されました。
Visual Studio Code の拡張機能で、「Runner」または「Code Runner」というものを導入すれば、「ターミナル」でいちいちコンパイルなどしなくても実行できるようになるみたいですが、どちらの拡張機能を使うべきかがよく分からないので、しばらくは、「ターミナル」でやっていく感じで。
とりあえず、C言語が実行できる環境はできたようです。C言語も、少しづつ勉強していきたいですね。
今回はこのへんで。