
⇧ amazing...
LogstashでのTwitter APIが機能しないのでTweepyを使用してみる
前回、
⇧ LogstashでTwitter APIを利用できるらしいlogstash-input-twitterというプラグインを使って、Twitterの投稿をElasticsaerchに貯めていこうと思ったのだけど、Twitterの仕様変更にlogstash-input-twitterプラグインの対応が追い付いていないのか、『403 forbidden』が解消できませんでした。
で、代替案を探していたところ、
⇧ TweepyというPython製のライブラリが、Twitter API v2にも対応してるということで、利用してみようかと。
ネットの情報でTweepyの利用例を見た感じでは、
⇧ Tweepyで取得したデータを
- 直接、Elasticsearchに貯め込む
- 一旦、Databaseに貯め込む。DatabaseからElasticsaerchに貯め込む。
の2パターンの方法がある模様。
どちらが主流なのかが分からんのだけど、今回は、「1.直接、Elasticsaerchに貯め込む」方法を試してみることにします。
Tweepyを動かすためには、Pythonを利用していく感じになるのですが、「1.直接、Elasticsaerchに貯め込む」を実現するためには
- tweepy
- elasticsearch
の2つのPythonライブラリをインストールする必要があるようです。
というわけで、WSL 2(Windows SubSystem for Linux 2)のUbuntuを
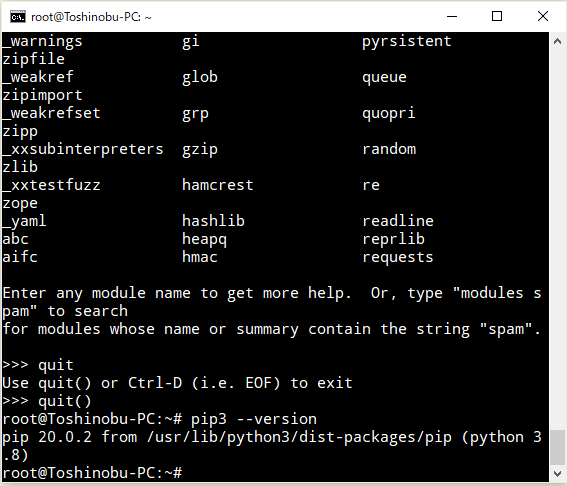
⇧ 上記の時のように、10.255.255.16のIPアドレスで起動し、SSH接続し、python-pipをインストール。

⇧ インストールできとらんようなのだけど...
どうやら、
⇧ WSL 2(Windows SubSystem for Linux 2)特有の問題っぽい...WSL 2はよく問題を起こしますな...
apt-get -y install python3-pip

インストール成功したのか分からんのだけど...
⇧ 上記サイト様を参考に、確認したところ、インストールされていたようです。

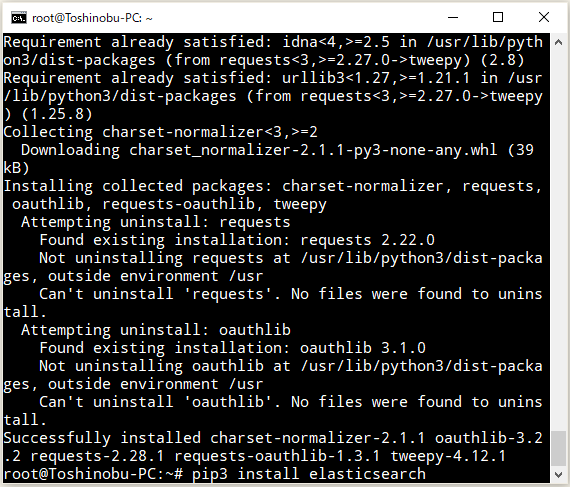
インストールされたようなので、続いて、elasticsearchのPythonライブラリをインストールで。

そしたらば、TweepyとelasticsearchのPythonライブラリを利用するPythonのコードを記述する、Pythonファイルを作成します。

で、
⇧ Pythonライブラリのelasticsearchの接続で、HTTPSの対応のために、フィンガープリントの値を取得しておく必要があるらしいのですが、フィンガープリントが一致しないエラーになってしまったので、certの認証は使わない感じにしました。
前提として、
⇧ Python 3.10以上じゃないと、「ssl_assert_fingerprint」が使えないらしい。
⇧ どっちにしろ、使えなかった...
Pythonのコードは以下のようになりました。
import tweepy
import sys
import json
from textwrap import TextWrapper
from datetime import datetime
from elasticsearch import Elasticsearch
#from tweepy import stream
from logging import StreamHandler, Formatter
from logging import INFO, DEBUG, NOTSET
import logging
from datetime import datetime

stream_handler = StreamHandler()
stream_handler.setLevel(DEBUG)
stream_handler.setFormatter(Formatter("%(message)s"))

logging.basicConfig(level=NOTSET, handlers=[stream_handler])

logger = logging.getLogger(__name__)

#consumer_key="CONSUMER_KEY_GOES_HERE"
#consumer_secret="CONSUMER_SECRET_GOES_HERE"

#access_token="ACCESS_TOKEN_GOES_HERE"
#access_token_secret="ACCESS_TOKEN_SECRET_GOES_HERE"

bearer_token="BEARER_TOKEN_GOES_HERE"

#auth = tweepy.OAuthHandler(consumer_key, consumer_secret)
#auth.set_access_token(access_token, access_token_secret)

es = Elasticsearch(
  [
      {
          'host':"10.255.255.16",
          'port':9200,
          'scheme': "https"
      }
  ],
  basic_auth=('ELASTIC_USER_GOES_HERE', 'ELASTIC_USER_PASSWORD_GOES_HERE'),
  verify_certs=False,
  #ssl_assert_fingerprint='FINGER_PRINT_GOES_HERE'
)

elastic_index = "tweepy_twitter_api_v2"
mappings = {
  "properties": {
    "tweet_text": {"type": "text", "analyzer": "standard"},
    "created_at": {"type": "text", "analyzer": "standard"},
    "user_id": {"type": "text", "analyzer": "standard"},
    "user_name": {"type": "text", "analyzer": "standard"},
    "tweet_body": {"type": "text", "analyzer": "standard"}
  }
}
if es.indices.exists(index=elastic_index) == False:
  es.indices.create(index=elastic_index, mappings=mappings)

class StreamListener(tweepy.StreamingClient):
  status_wrapper = TextWrapper(width=60, initial_indent='  ', subsequent_indent='  ')

  def on_status(self, status):
    try:
      current_date = datetime.utcnow().strftime('%Y%m%d%H%M%S%f')
      #print 'n%s %s' % (status.author.screen_name, status.created_at)
      data = {
        'tweet_text': status.text,
        'created_at': str(status.created_at),
        'user_id': status.user.id,
        'user_name': status.user.name,
        'tweet_body': json.dump(status._json)
      }

      logger.info("on_status")
      logger.info(data)
      #print json_data['text']
      es.index(
        index=elastic_index,
        id="tweet_" + current_date,
        document=data
      )
      logger.info("es.index success")

    except Exception as e:
      logger.error(e)
    pass

#streamer = tweepy.Stream(auth=auth, listener=StreamListener(), timeout=3000000000 )
#streamer = StreamListener(
#  consumer_key,
#  consumer_secret,
#  access_token,
#  access_token_secret
#)

streamer = StreamListener(bearer_token=bearer_token, max_retries=3)

#Fill with your own Keywords bellow
terms = '2023'

streamer.add_rules(tweepy.StreamRule(terms))
logger.info("start streamer.filter")
streamer.filter()
#streamer.userstream(None)
streamer.disconnect()
⇧ hostの値はご自分の環境に合わせてください。また、〇〇_GOES_HEREの値は、作成しているTwitter appの値や、basic_authについてはElasticsearchのユーザーのものに置き換えましょう。
上記は、Twitter API v2を利用する場合のコーディング内容になります。
Streams utilize Streaming HTTP protocol to deliver data through an open, streaming API connection. Rather than delivering data in batches through repeated requests by your client app, as might be expected from a REST API, a single connection is opened between your app and the API, with new results being sent through that connection whenever new matches occur. This results in a low-latency delivery mechanism that can support very high throughput. For further information, see https://developer.twitter.com/en/docs/tutorials/consuming-streaming-data
Stream allows filtering and sampling of realtime Tweets using Twitter API v1.1.
StreamingClient allows filtering and sampling of realtime Tweets using Twitter API v2.
⇧ Twitter API v1.1とTwitter API v2で使用できるメソッドがそもそも違っているようです。
で、twitter_tweepy.pyを実行すると、
python3 twitter_tweepy.py
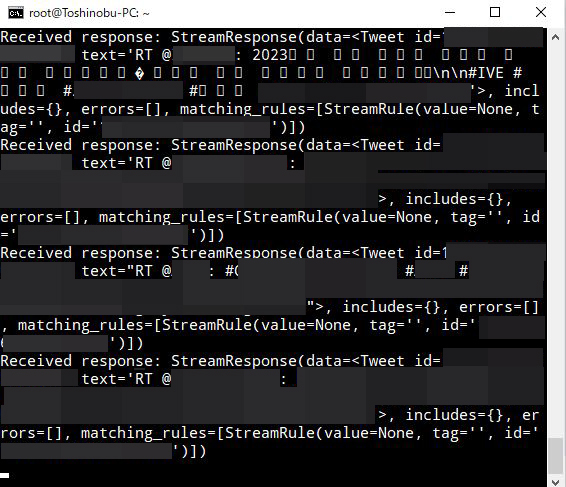
⇧ Responseとして、「2023」を含むTwitterの投稿が返ってきていることから、Twitter APIは実施できているようです。
Ctrl + C で、twitter_tweepy.pyを停止しましょう。
Elasticsaerchへ貯めることができているのかが確認できていないですが、とりあえず、Twitter API v2でもTweepyは機能していることが確認できました。
Elasticのforumによると、
You mean is something like:
/var/lib/elasticsearch/nodes/0/indicesBut they are not human readable!!!
⇧ 上記の場所にデータがあるらしい。
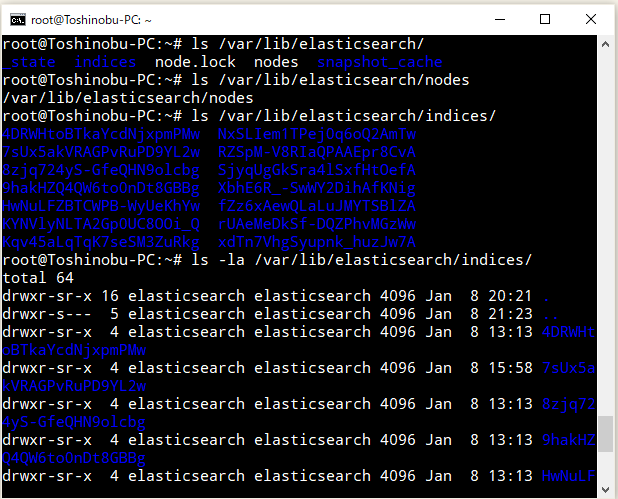
⇧ Elasticsearchにデータは保存されてると考えて良いんかな?
2023年1月10日(火)追記:↓ ここから
PythonライブラリのelasticsearchでCA証明書がエラーになってた原因は、以下で解消できました。
2023年1月10日(火)追記:↑ ここまで
それにしても、全然お手軽な感じがしないんだけどな...
毎度モヤモヤ感が半端ない...
今回はこのへんで。