
テスト内容にもよりますが、IT技術を学び始めて4カ月しか経過していない新人が5年以上の実務経験があるプロを超える知識とスキルを身に着けているという結果は、非常に驚くべきことだと言えるでしょう。
sprite sheetって?
そもsprite sheetとは?
A sprite sheet is a bitmap image file that contains several smaller graphics in a tiled grid arrangement. By compiling several graphics into a single file, you enable Animate and other applications to use the graphics while only needing to load a single file. This loading efficiency can be helpful in situations such as game development where performance is especially important.
https://helpx.adobe.com/in/animate/using/create-sprite-sheet.html

クロノフォトグラフィみたいなものなんかな。
sprite sheetの範囲をズラしながら描写していくことでアニメーションを実現するってことで、キネトスコープと同じ様に、コマ撮りの仕組みを利用している感じでしょうか。
画像とフィルムの違いはあれど、一場面を切り撮って繋げていくってのは変わらないということかと。sprite sheetでCSS animationを実施してみる
と言うわけで、
⇧ 上記サイト様を参考に、sprite sheetでのCSS animationを実装してみる。
sprite sheet用の画像をダウンロード。
https://www.pngegg.com/en/png-cmkom
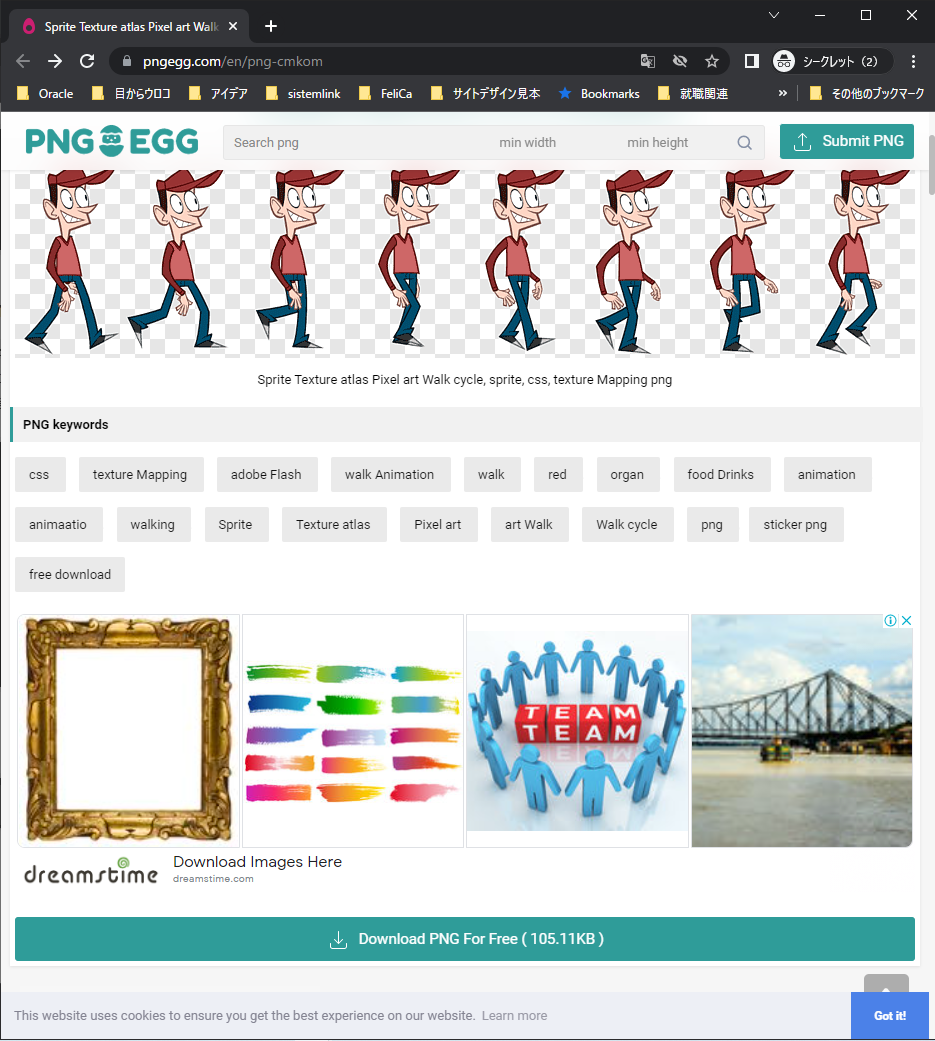
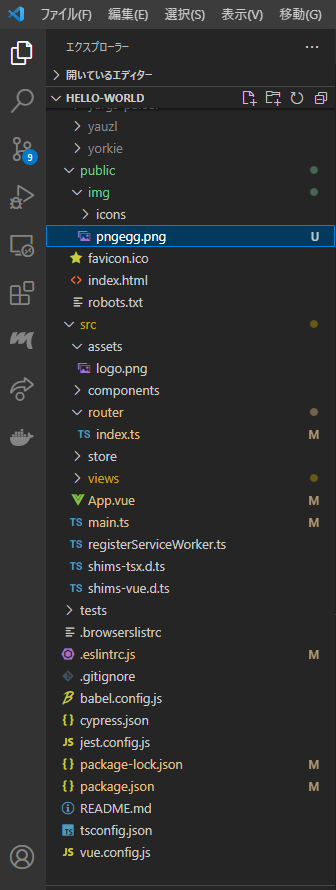
で、画像を配置する。Vue CLIで作成したVue.jsのプロジェクトなので、publicフォルダのimgフォルダに配置してます。
利用しているプロジェクトは、
⇧ 上記の記事の時と同じものになります。
追加・変更した部分についてソースコードを掲載。
まずは、eslintさんがイケてなくて、同じ名前のファイル名が使えないという有り得ない設定がデフォルトになってしまっているので、設定を追加して回避します。
■C:\Users\Toshinobu\Desktop\soft_work\vue_work\vue-vee-validate\hello-world\.eslintrc.js
module.exports = {
  root: true,
  env: {
    node: true,
  },
  extends: [
    "plugin:vue/essential",
    "eslint:recommended",
    "@vue/typescript/recommended",
    "plugin:prettier/recommended",
  ],
  parserOptions: {
    ecmaVersion: 2020,
  },
  rules: {
    "no-console": process.env.NODE_ENV === "production" ? "warn" : "off",
    "no-debugger": process.env.NODE_ENV === "production" ? "warn" : "off",
    "prettier/prettier": [
      "error",
      {
        endOfLine: "auto",
      },
    ],
    "vue/multi-word-component-names": "off",
  },
  overrides: [
    {
      files: [
        "**/__tests__/*.{j,t}s?(x)",
        "**/tests/unit/**/*.spec.{j,t}s?(x)",
      ],
      env: {
        jest: true,
      },
    },
  ],
};
CSSのアニメーション。
■C:\Users\Toshinobu\Desktop\soft_work\vue_work\vue-vee-validate\hello-world\src\views\anime\index.vue
<template>
  <div class="step-anime"></div>
</template>

<style lang="scss">
.step-anime {
  margin: auto;
  background: url("/public/img/pngegg.png") no-repeat;
  background-size: 400px auto;
  width: 50px;
  height: 90px;
  animation: walk 1s steps(8) infinite;
}

@keyframes walk {
  to {
    background-position: -400px 0;
  }
}
</style>
Vue Routerにパスを追加。
■C:\Users\Toshinobu\Desktop\soft_work\vue_work\vue-vee-validate\hello-world\src\router\index.ts
import Vue from "vue";
import VueRouter, { RouteConfig } from "vue-router";
import HomeView from "../views/HomeView.vue";

Vue.use(VueRouter);

const routes: Array<RouteConfig> = [
  {
    path: "/",
    name: "home",
    component: HomeView,
  },
  {
    path: "/about",
    name: "about",
    // route level code-splitting
    // this generates a separate chunk (about.[hash].js) for this route
    // which is lazy-loaded when the route is visited.
    component: () =>
      import(/* webpackChunkName: "about" */ "../views/AboutView.vue"),
  },
  {
    path: "/user",
    name: "user",
    component: () =>
      import(/* webpackChunkName: "user" */ "../views/user/index.vue"),
  },
  {
    path: "/anime",
    name: "anime",
    component: () =>
      import(/* webpackChunkName: "anime" */ "../views/anime/index.vue"),
  },
];

const router = new VueRouter({
  mode: "history",
  base: process.env.BASE_URL,
  routes,
});

export default router;
Vue Routerで追加したパスにアクセスするためのリンクを追加。
<template>
  <div id="app">
    <nav>
      <router-link to="/">Home</router-link> |
      <router-link to="/about">About</router-link> |
      <router-link to="/user">User</router-link> |
      <router-link to="/anime">Anime</router-link>
    </nav>
    <router-view />
  </div>
</template>

<style lang="scss">
#app {
  font-family: Avenir, Helvetica, Arial, sans-serif;
  -webkit-font-smoothing: antialiased;
  -moz-osx-font-smoothing: grayscale;
  text-align: center;
  color: #2c3e50;
}

nav {
  padding: 30px;

  a {
    font-weight: bold;
    color: #2c3e50;

    &.router-link-exact-active {
      color: #42b983;
    }
  }
}
</style>
で、npm run serveで開発用サーバー起動して、
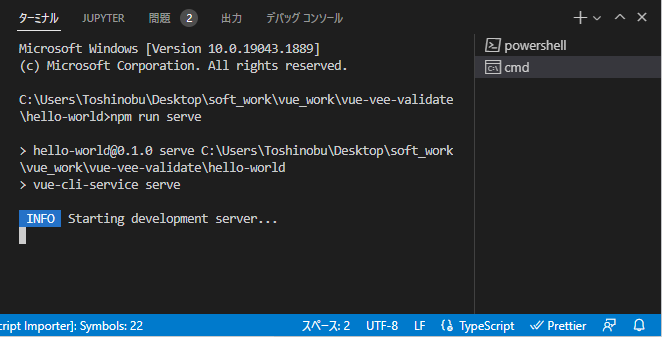
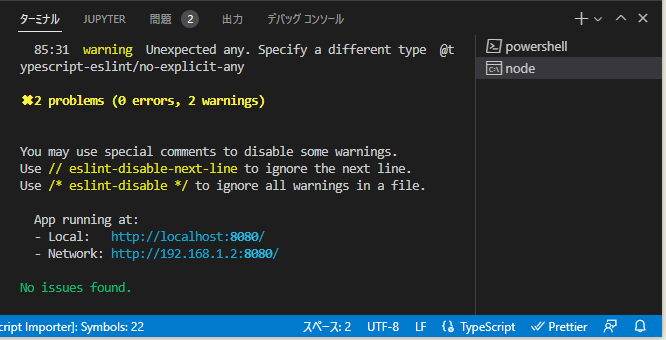
で、ブラウザからアクセスすると、
⇧ アニメーションが実現できてます。
元々は、CSSでローディング中のアニメーションを調べていて、複雑なアニメーションを実現となると、sprite sheetのような画像からアニメーションさせる方法になってくるのかなということで辿り着きました。
sprite sheetを用意するのが大変ですけどね...
CSSだけで、複雑なアニメーションを実現してる猛者もおられますが...
I made and CSS only animated horse! https://t.co/c5YnnnaPUP pic.twitter.com/BTX2rUcuWW
— Steve Gardner (@steeevg) 2019年8月1日
毎度モヤモヤ感が半端ない...
今回はこのへんで。